Friends, meet Aperture.
Welcome to installment two of LGP EDU -- Thank you for coming back! I'm going to jump right into this one so we don't waste any time; aperture is a doozie. The truth is, if you want consistently good photos, aperture, ISO and shutter speed need to become your good friends. So let us begin this beautiful friendship.
There are endless forums and websites that will offer you a far more extensive and technical (i.e. mathematical equations), explanations of your camera's aperture and shutter speed but I'm going to approach it as if these are brand new concepts and will try to portray them in a less intimidating light. The best way to master these concepts is to sit down with your camera and experiment. This will allow you to see the immediate effects of the changes that you make to either setting. Today we'll meet Aperture.
In lay-terms, Aperture refers to the size of the opening in your lens; the opening is controlled by a diaphragm which is either set by you (manually), or by your camera (auto), according to the amount of light that is needed for a correct exposure. Basically, it controls the amount of light that is allowed in to expose the film (or, digitally, contact the image sensor).
Related terms and phrases: F-stop, minimum and maximum aperture, lens speed, low light settings, depth of field, wide, narrow, large, small.
Your DSLR has an Av Mode - this allows the user to set the aperture and then the camera takes care of the shutter speed. Change the Aperture (or f-stop), using the small dial usually found by the shutter button when in Av. (Again, I prefer and suggest the Manual Mode which gives the user greater control of the final exposure as you have the ability to set both the aperture and the shutter speed. On most DSLR's you'll set the aperture using the Av button.) Under and over-exposed images are often a result of the Auto or Program mode - the camera's built in light meter often reads the background of the image and fixes the settings appropriately. This can result in too much or not enough light directed on your subject.
So what's with all the numbers? I'm so glad you asked. Each number is referred to as a stop. One stop either doubles or halves the amount of light. If you go from f2.8 to f2, you have doubled the amount of light exposing the film/sensor. (Most cameras offer quarter and half stops, too.) Here is a scale of the standardized aperture stops and a visual to acquaint you with the different sizes of lens openings:
f/1.4 – f/2 – f/2.8 –f/4 – f/5.6 – f/8 – f/11 – f/16
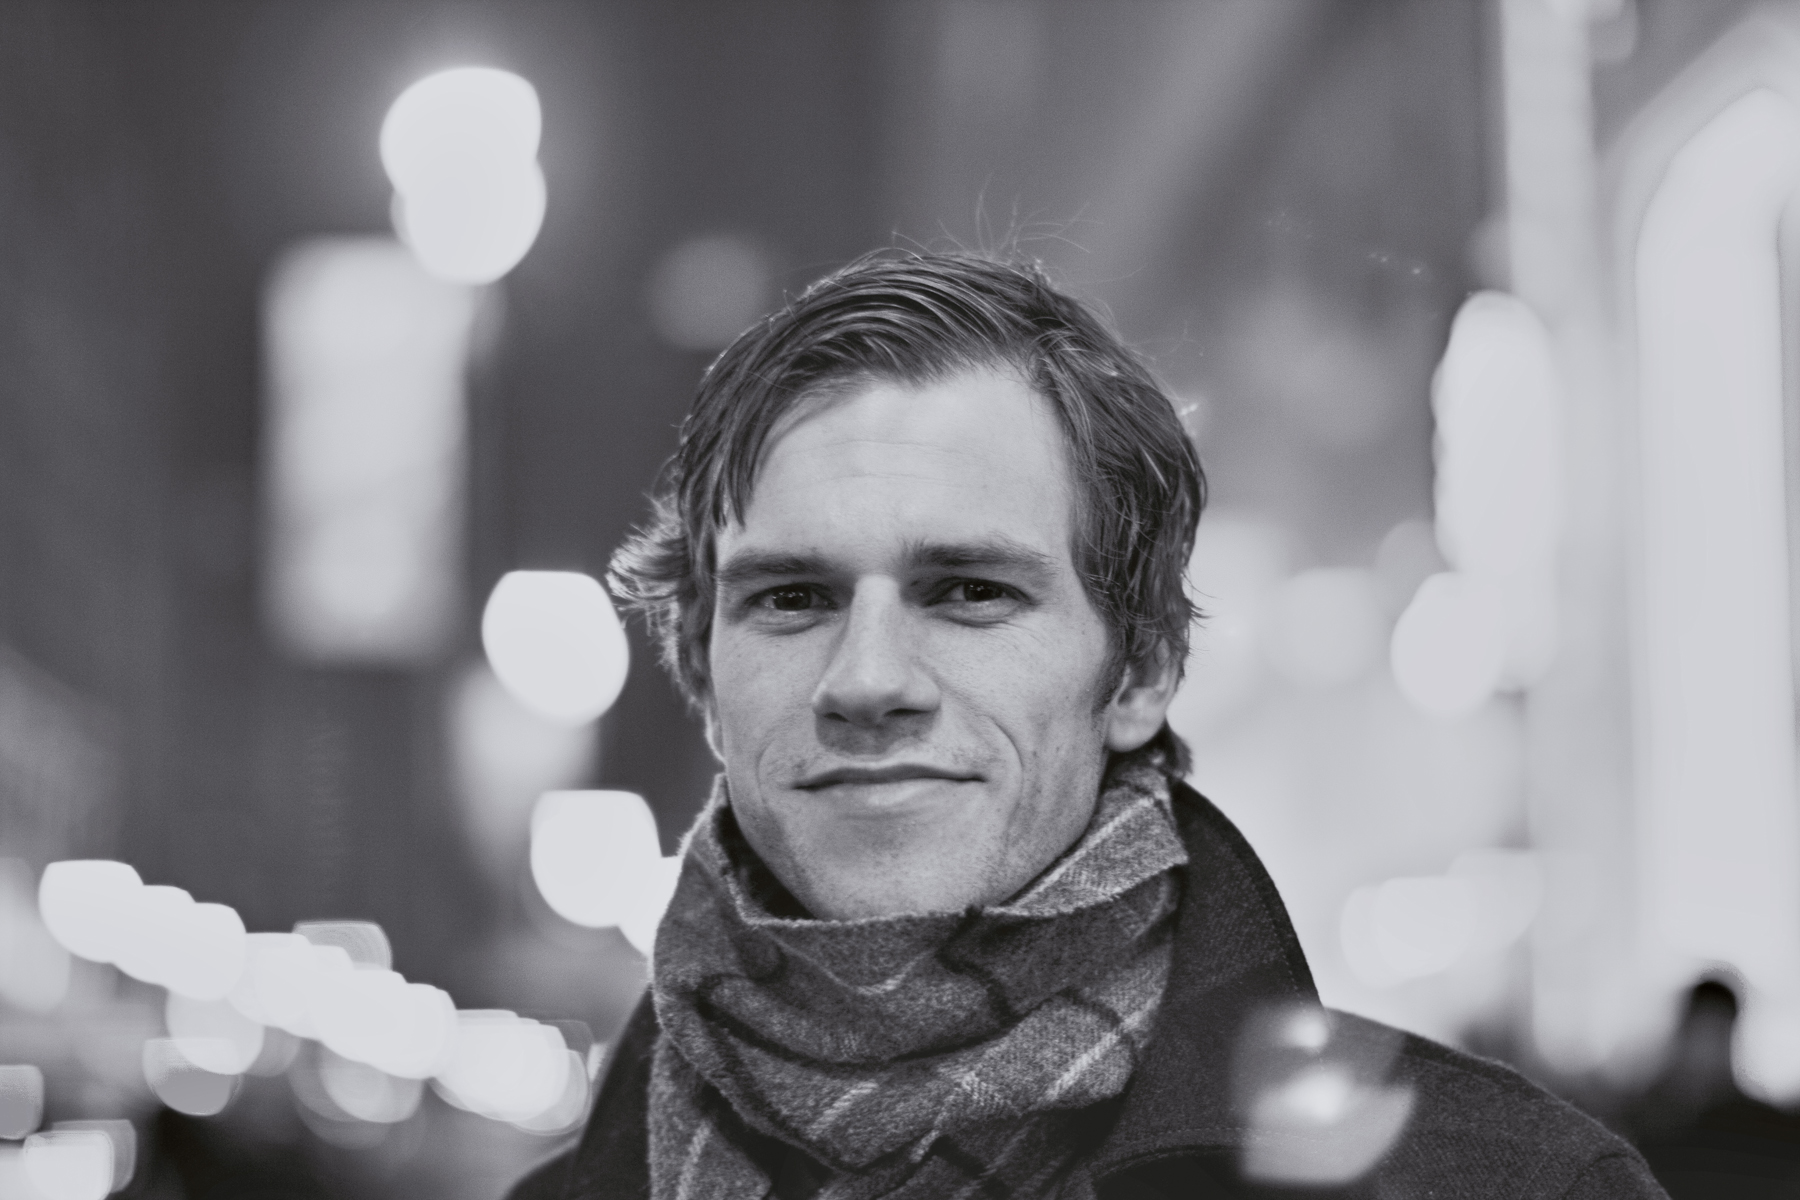
Low light situations call for wider apertures. The smaller the number, the wider the lens opening, the larger the aperture = more light. Example:
Ben in Times Square at evening - low light situation called for a wide aperture.
While a wide aperture lets in the most amount of light, a narrow aperture lets in less light. (You've seen those photos in which the sun looks like a little star burst? This is the result of a narrow or small aperture.)
F/11 at 1/80s
Had I used the program mode here, the Brooklyn Bridge would only be a silhouette.
The most commonly used lenses (kit lenses), can range from f3.5-22. Professional grade lenses are a bit faster as they are intended for lower light situations (wedding ceremonies, receptions, events, etc.), and often open as wide as f1.2, making them quite a bit pricier. How do you know the widest aperture of your lens? It is listed within the name of your lens on the lens barrel with the "f" in front of the number: Canon EF 35-80mm f4-5.6. Note that a zoom lens will have two f-stops; f4 is the widest aperture available when shooting at 35mm; f5.6 is the widest aperture available when shooting with the lens zoomed out to 80mm.
Aperture also affects your depth of field, or the portion of your photo that appears sharp and crisp. A wide aperture results in a clear subject matter surrounded by a blurred background (this is an example of shallow depth of field). This is ideal for portraits and product shots as the background becomes blurry, not fighting for the attention that should be given to the subject. Landscape photos are often taken with a smaller aperture. The photos below illustrate a shallow and an extended depth of field.
F/ 2.0 F/7
See the difference? The larger aperture creates a more shallow depth of field, drawing the eye to the red cook book, while the smaller aperture allows the viewer to see every title. Assuming that most of us are visual learners, few more examples:
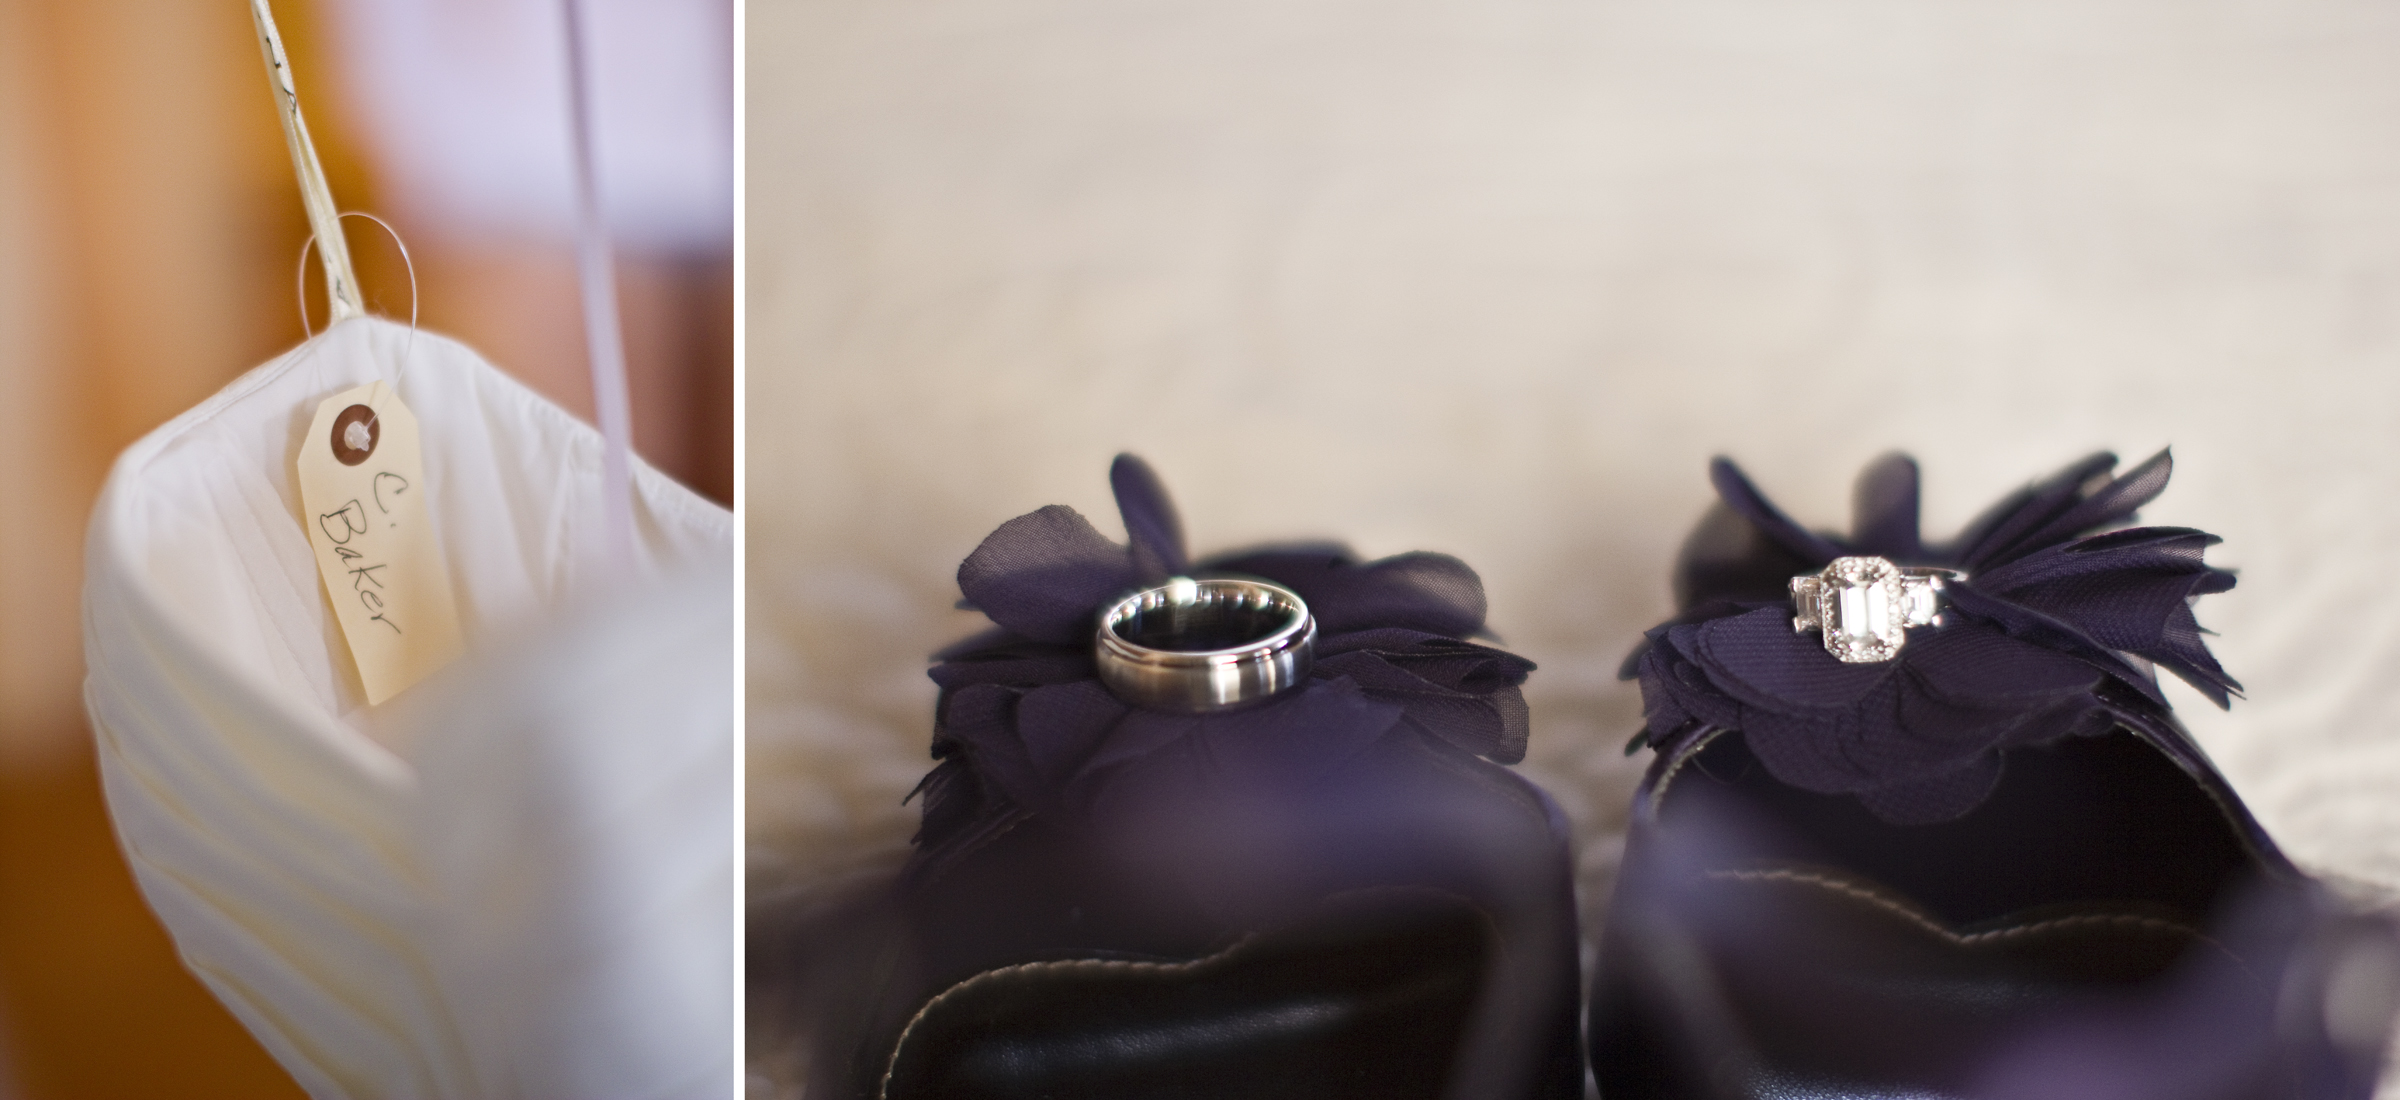
Both images f/1.2 and 1/125s
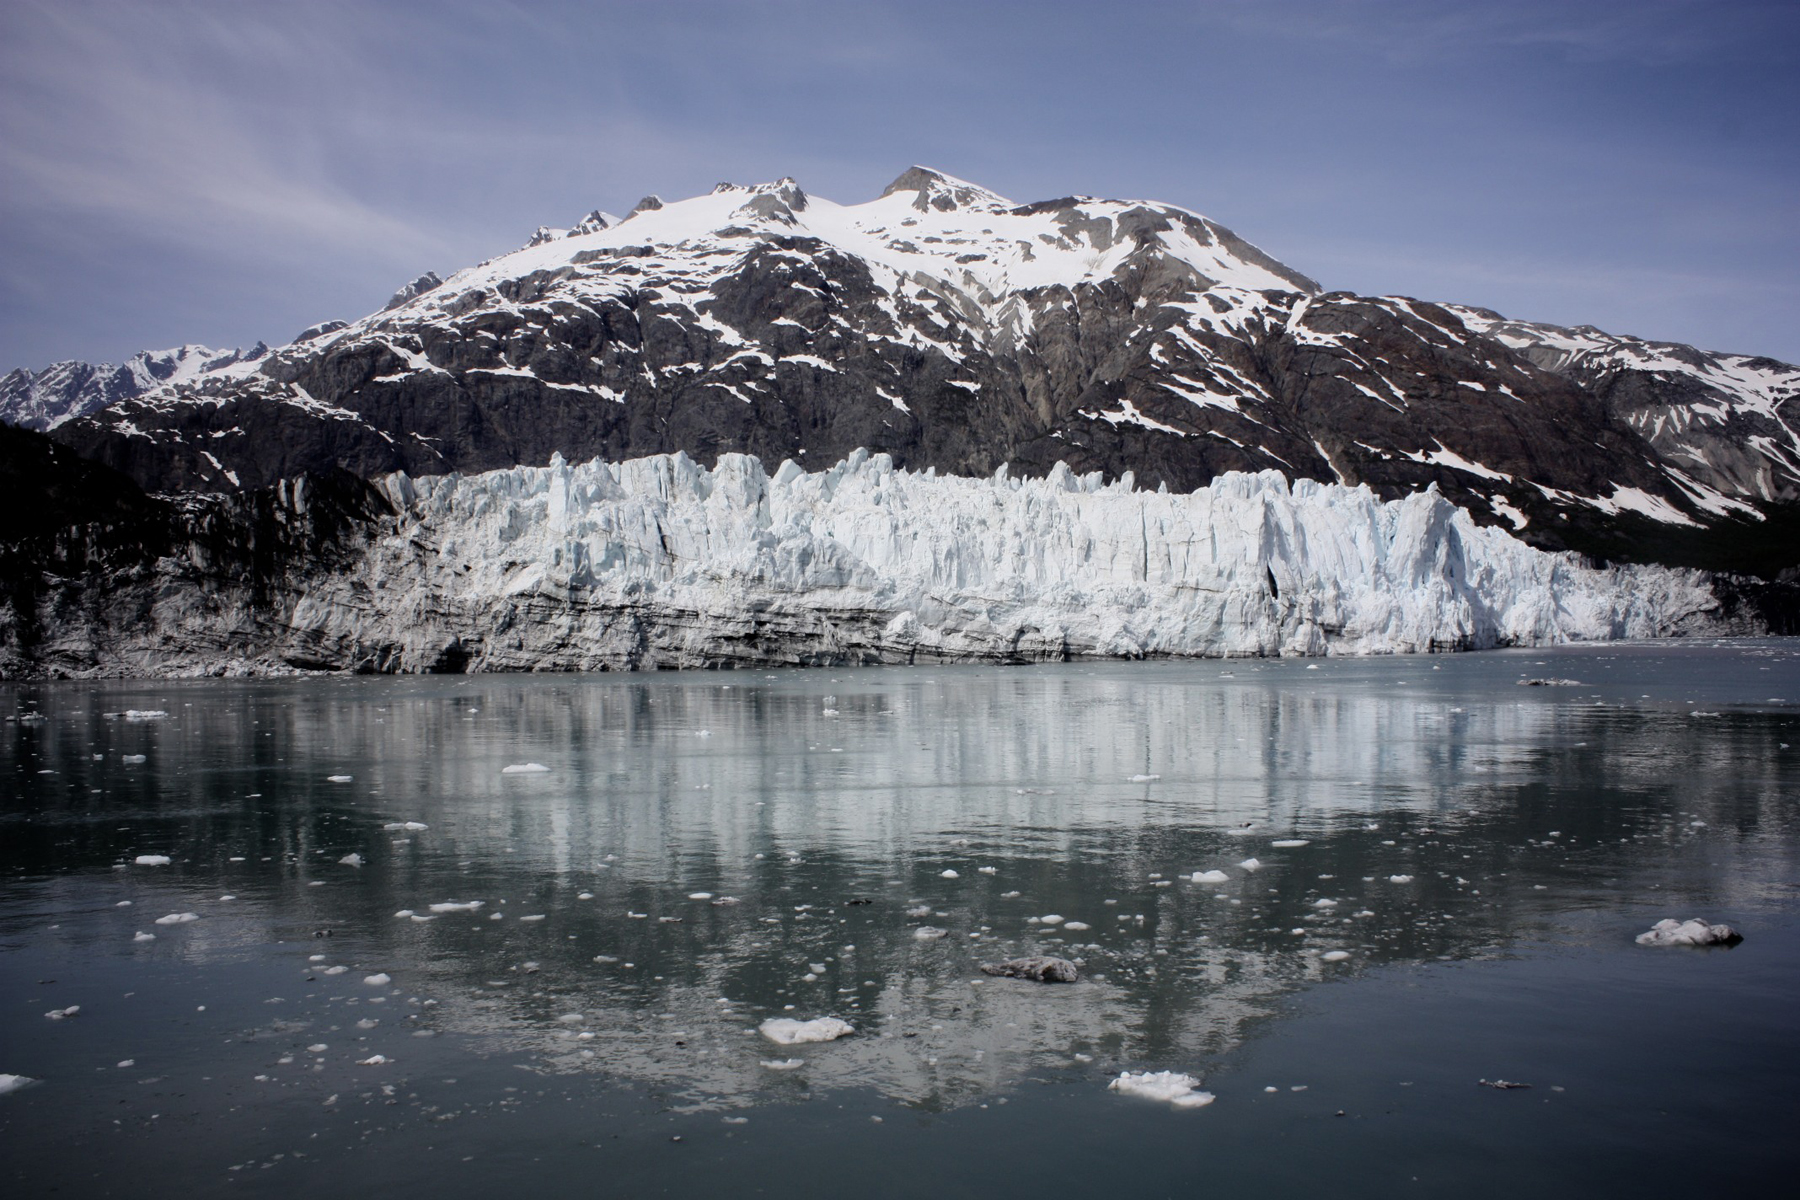
Detail shots are often much more visually interesting when a wide aperture is used. A smaller or narrow aperture is often preferred when shooting landscapes; this provides the image with an extended depth of field.
F/14 at 1/400s.
Of course, aperture works in cahoots with ISO and shutter speed; well wrap up the techie convo with shutter speed next time and take a look at how the three interact. Please feel free to leave a comment, question or helpful link below to add to the discussion!
If you'd like to continue reading about Aperture, I suggest you go here.
aperture illustration borrowed from www.seanmorlin.com/blog - thanks!


